![]()
How to use ImageOptimizer
In this document we will show you how to use ImageOptimizer as a tool to reduce size of your images.
- 1. How to optimize a single image
- 2. How to optimize all images in a folder
- 3. How to optimize images in advanced mode
1. How to optimize a single image [Top of the page]
After you installed the ImageOptimizer (How to install), you will see an option named "Optimize Here" when you right-click on JPEG files. Figure bellow demonstrated this option.
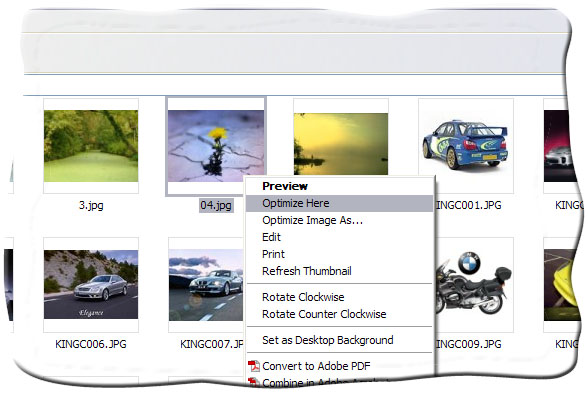
After clicking this option, the image you have selected will be optimized by the program's default values. In the rest of this document you will learn how to optimize images in advanced mode and with arbitrary parameters.
2. How to optimize all images in a folder [Top of the page]
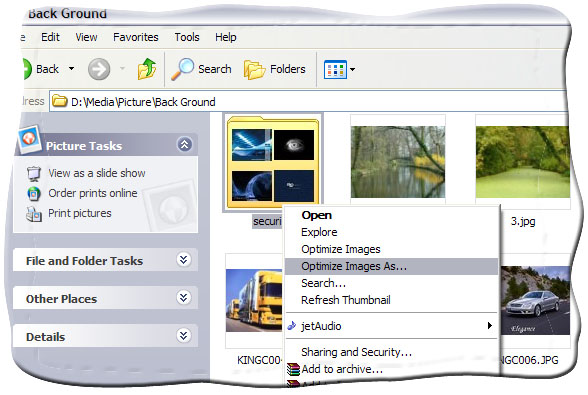
When you right-click on folders, you will see an option named "Optimize Images" in the context menu. See the figure below.
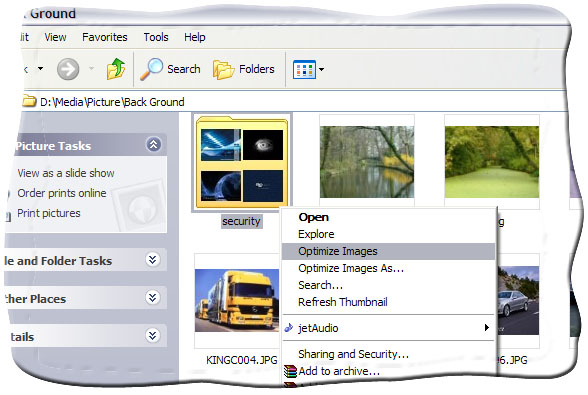
After clicking this option the programme will create a new folder with a name like "<your folder name> - Optimized" and will optimize all images containing in the folder you have selected into the new folder.
While optimizing images, a window like the figure below will be shown:
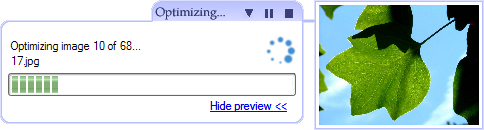
In this window you will see a preview of the current image which is being optimized. You can click on "Hide Preview" link you close this part of the window. The progress window without preview is shown in below.
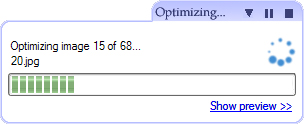
In this window you can follow the optimization progress and see which image is getting optimized. At the top of this window there are three buttons which allows you to control the optimization process:
-
Background: You can send the window to the background by clicking on the
 button and it will complete the
optimization till the end.
button and it will complete the
optimization till the end. -
Pause/Continue: By clicking on the
 button, the optimization process will
be paused and its icon will change to
button, the optimization process will
be paused and its icon will change to
 . After clicking this button the
process will continue.
. After clicking this button the
process will continue. -
Cancel: You can terminate the optimization by simply clicking
 button.
When the process is completed a window like below will be shown:
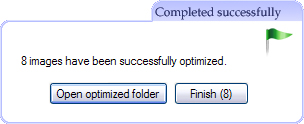
In this window you can click "Open optimized folder" in order to browse optimized image(s) or just click "Finish" to get rid of the window! The window will be automically closed after 30 seconds.
3. How to optimize images in advanced mode [Top of the page]
Besides two quick methods described above to optimize images, you can also select "Optimize Image(s) As..." option from the context menu for both image files and folders in order to optimize images in a more advanced manner.
After clicking on the option a window like bellow will be shown which consists of four tab pages.
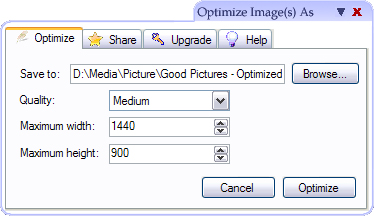
3.1 Optimize Tab [Top of the page]
In this dialogue you can optimize the image you have selected or images in the folder which you have selected in advanced. You can type of browse the destination file or folder that you wish the optimize image(s) be put into. You can also specify quality of the optimized image. Higher quality will cause to lower optimization. Finally you can determine maximum width and height of the optimized image. After clicking on the Optimize button you optimize image(s) will be prepared.
3.2 Share Tab [Top of the page]
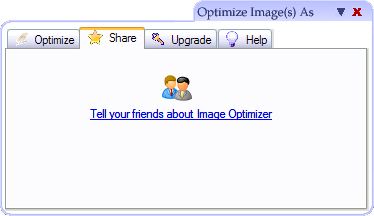
This window enables you to introduce ImageOptimizer to you friends. Just click on the image or link and it will navigate you on an appropriate page on ImageOptimizer website.
3.3 Upgrade Tab [Top of the page]
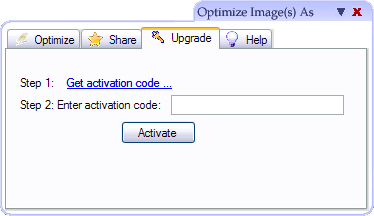
While you are using a free version of ImageOptimizer, a demo text will appear in the bottom of relatively large images. If you want to get rid of this demo text, click on "Get activation code..." link. This link will navigate you through ImageOptimizer activation website. After getting an activation code from the website, enter the code in the textbox and click "Activate" button and enjoy full-version image optimizer.
3.4 Help Tab [Top of the page]

In this tab page you will see some links which will introduce us to you. Read about ImageOptimizer, Geeks ltd and contact us.